
Showing posts with label Zulu War of 1879. Show all posts
Showing posts with label Zulu War of 1879. Show all posts
Wednesday, August 27, 2008
Zulu War 28mm hard plastics
Here is another development in the expanding availability of 28mm wargaming figures in hard plastic. The Wargames Factory is now planning to come out with hard plastics for the Zulu War of 1879. This a photo of what the British figures will look like painted.


Monday, June 18, 2007
"Like Wolves on the Fold" Great New Book on Rorke's Drift

Just want everyone to know that I found a really good book on Rorke's Drift. "Like Wolves on the Fold; The Defense of Rorke's Drift" by Mike Snook is the result of new research, analysis, and interpretation from the perspective of an experienced infantry officer. As Mike Snook demonstrated in his first book about the Battle of Isandlwana, "How Can Man Die Better?" he has an ability to provide keen insights into the terrain features of a battlefield. He does a great job applying the same approach to Rorke's Drift. I feel like I now have a much better concept of how the entire Rorke's Drift incident played out tactically as a result of reading this book. This book could be of great value to a gamer who is planning out a table top scenario. As Mike Snook points out, there was quite a bit of terrain that came into play, and I have never seen these represented in wargame scenarios. This is a good fresh look and it reads very well. This re-telling of a very familiar story is full of intense drama!
Friday, August 18, 2006
"Zulu Victory"

I just finished reading this book, "Zulu Victory: The Epic of Isandlwana and the Cover-Up" by Ron Lock and Peter Quantrill, a couple of fine retired British army officers. I stongly recommend it to any serious student of the Zulu War. The authors have pieced together an extremely detailed account of the sequence of events on that auspicious day of January 22nd 1879 when the British invasion of Zululand was dealt a huge set-back at Isandlwana. Here is what I think. I think this book has enough in the way of new facts and details that it makes all previous books on Isandlwana obsolete. Correct me if I'm wrong.
The authors have done such a thorough job of interrelating all the events and developments of the battle that the book can actually be considered to be difficult to read. You really have to concentrate hard on all the disparate personalities, the forces, what they were all doing and how it all came together. I learned a lot of new things about Isandlwana. My assessment is that anyone else would too.
They do a good job of explaining how the Zulus decoyed Chelmsford and a large part of his force away from the camp at Isandlwana and then held his interest until the "right hook" manuever up and around to the North could be executed by the main Zulu impi. If you somehow believed that the Zulus got lucky and caught the camp in a vulnerable position, this book will dispell that notion. I have to admit that I was under that impression.
Another thing I liked about this book was that it gives you a good apprecation for the "fog-of-war" factor that Colonels Pulleine and Durnford were dealing with. In spite of the reports coming in, neither one of them could comprehend exactly how much danger they were in until it was too late. Oh well, nothing unusual about that. First contact with the enemy is very frequently a bitter learning experience. That certainly was the case at Isandlwana. Many mistakes were made that would not be repeated. More than any other mistake Chelmsford was guilty of fighting previous wars against African tribes. The Zulus were another matter entirely, and he just had to see it before he could believe it.
Here's something else; this is the first book I have seen that covers the aftermath of Isandlwana in detail. It shows how Chelmsford was able to get through all the scrutiny with his hide somewhat intact and how Colonel Durnford, commander of the Natal Native Contingent, was offered up as a convenient scapegoat. By convenient I mean that since he was killed in the battle, he couldn't refute the blame.
Tuesday, August 01, 2006
Rorke's Drift Concluded
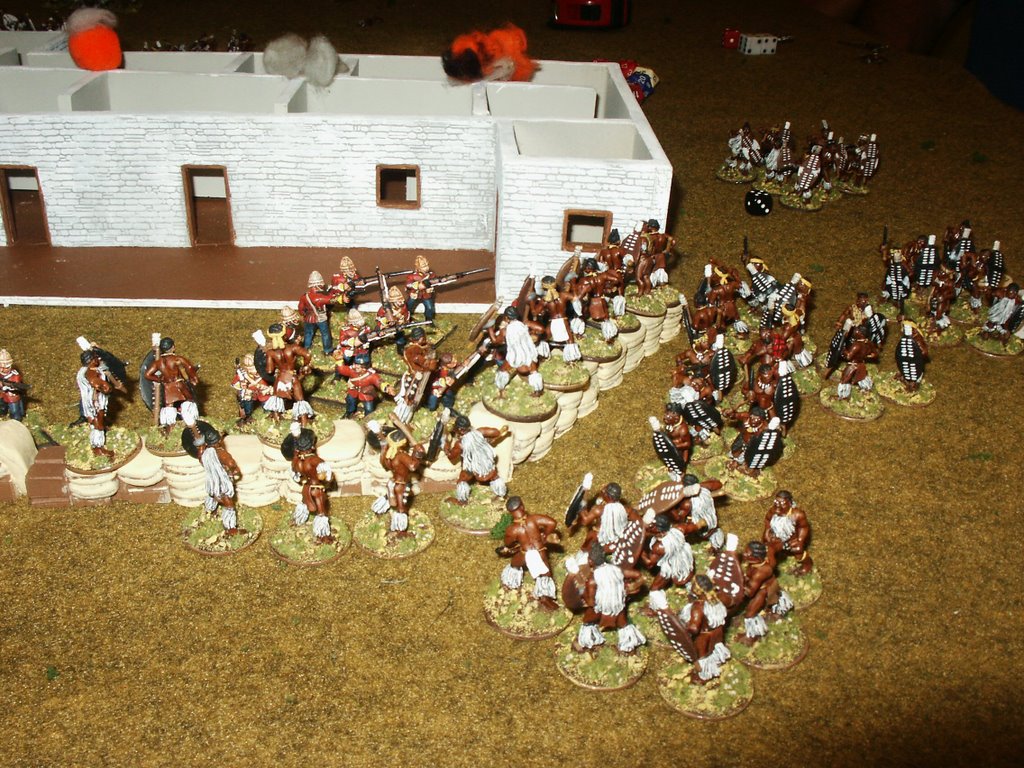

After a while, (quite a while actually, about 3 hours into the game,) the Zulus succeeded in setting the hospital on fire. They had set this as their highest priority over capturing the hopsital, or focusing on getting across the mealie bag wall. Well, they succeeded and all the Brits except two were able to get out before the roof collapsed. Now that the hospital was burning the Zulu side had to start focusing on getting across the mealie bags. In the lower photo above you can see that they focused about half their attackers on the line of bags connecting the hospital with the storehouse. This met with no success at all. It was especially difficult because I had stationed LT Chard at this spot. His presence improved British shooting to a significant degree.
In the top photograph you can see the other half of the Zulu attackers trying to swarm over the wall after flowing around to the other side of the hospital. For the very last turn of the game, the Zulus had managed to charge three units against only one British unit that was manning that corner. One after one we resolved the combats. The first two Zulu units were defeated but the defending Brit unit had been whittled down to only 3 figures. Then the third Zulu unit came on in. Zulu after Zulu fell while trying to get across the wall, but two more Brits went down as well. Finally, that was only one Brit and one Zulu left. This was very tense, because game master Roy Jones had said that since there was no time to play out all three Zulu "waves," it would be a Zulu "moral victory" if they managed to get anything across the wall. So it had come down to only one Brit left to "save the day." Well all I can say is that the dice rolling gods were with me because the last Zulu went down right on top of the mealie bag wall. That surviving trooper definately met the TSATF Victoria Cross criteria in my book! Nevertheless, if you look carefully in the top photo you will see that I had a Brit unit right behind the unit defending the wall. If the Zulus had managed to get across, they would have been fired on and charged by a fresh set of defenders; if there had been another turn.
At this point we had to call it "quits," not only had we run out of time, but we were all feeling a bit exhausted with the work, tension, and concentration of the stuggle. Maybe someday I'll try running the entire scenario. It won't be easy though, to begin with I have absolutely no scenery for this scenario and the way it is desiged you almost have to turn it into a campaign series to play out the entire thing. But, all that aside, we did have good time playing out the first "wave."
Monday, July 31, 2006
Yet More Rorke's Drift action
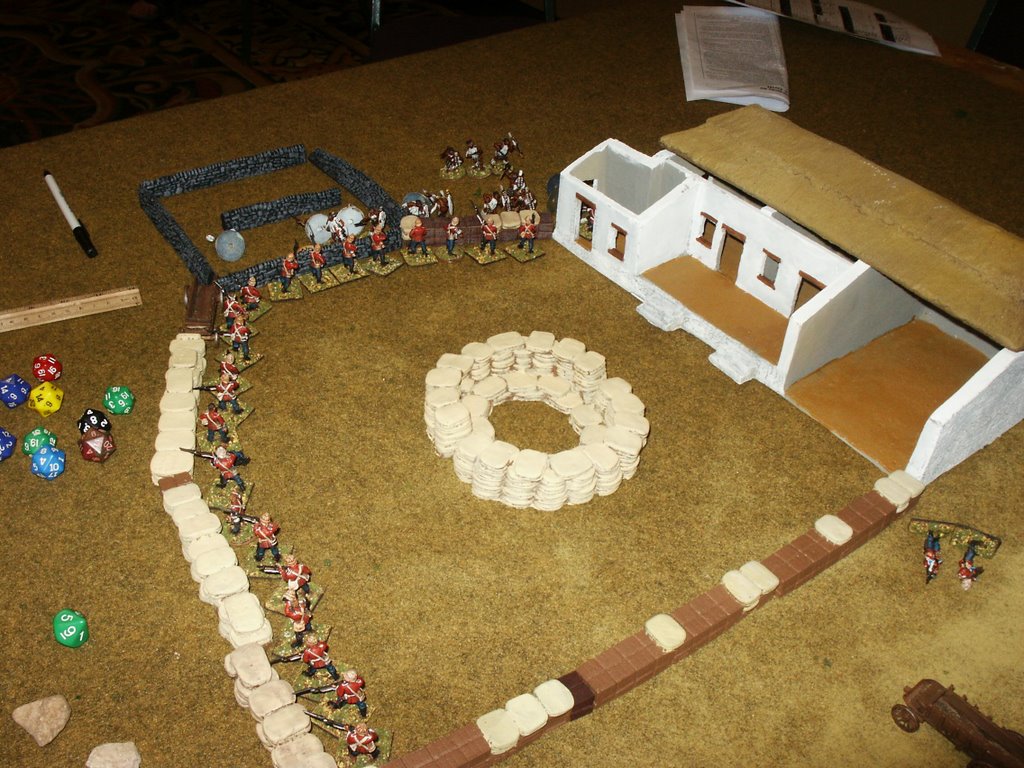
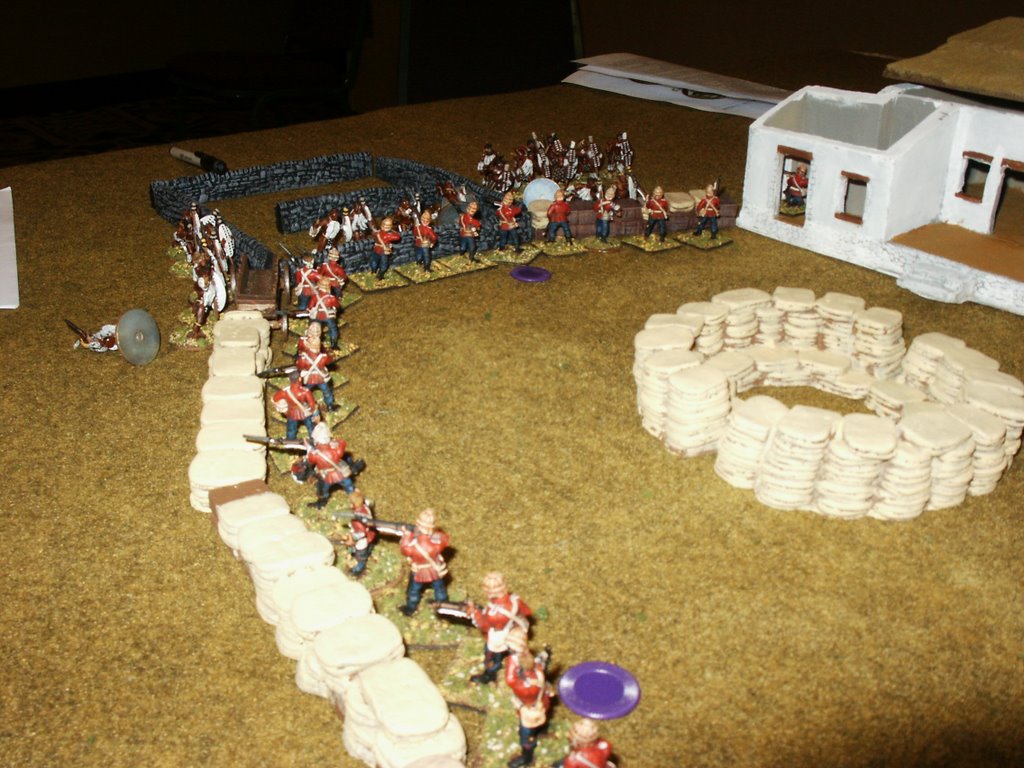
In these photos you can see the Zulus attacking the corral and store house areas. They did this only after the Brits had pulled troops out of this area to reinforce the hospital side of the compound.
Although it looked kind of "dicey" at first, the attack in the store house area was completely unsuccessful.
Saturday, July 29, 2006
More Rorke's Drift Action
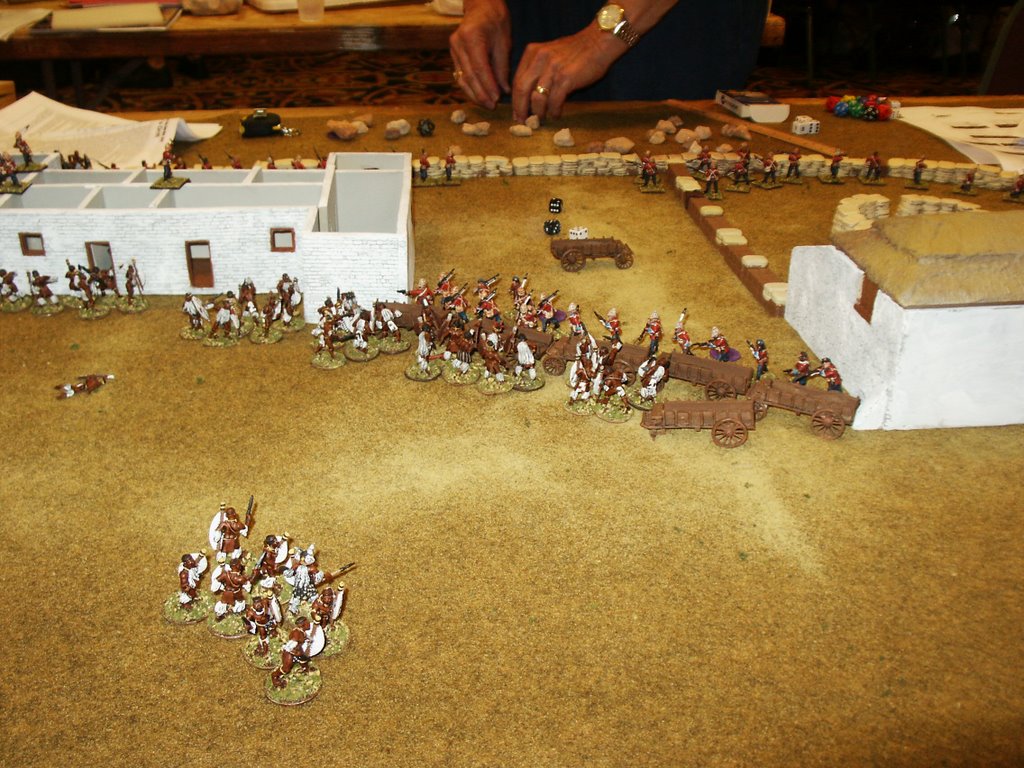

Here you can see the Zulu first wave concentrating on the hospital building and the line of mealie bags next to it. The Zulu players decided to focus on this objective. The hospital is a difficult buiding to defend because there are so few places to shoot out of. They eventually succeeded in setting the hospital on fire. I think that if I ever run this scenario myself I will allow the British troop to cut more fire loops in the outer walls of the building so they can bring more guns to bear.
Friday, July 28, 2006
Mega Rorkes Drift Scenario
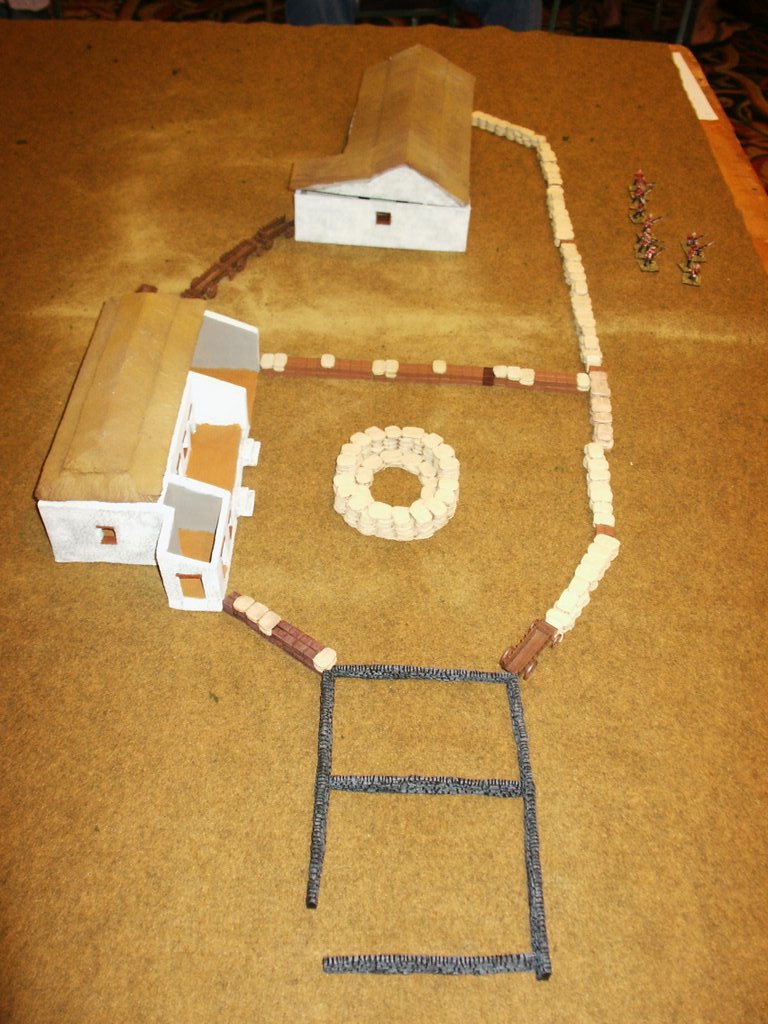
When we were at Historicon we participated in a huge Rorke's Drift scenario run by Roy Jones, one of the authors of the new Zulu War 1879 scenario book. (see below) The way Roy wrote this scenario it could take 2 or 3 full sessions to play out. He designed it so that the Zulus can launch 3 separate "waves." Each time a wave is played out each side is free to re-orient their units and then it starts again. In the third wave it is assumed that night conditions prevail.
Roy has a really nice Rorke's Drift scenery set that he purchased from Redoubt Miniatures. (We have a link down below.) I took a photo showing the whole setup. The two buildings come with very nice thatched roofs that can be removed.
It took us about 4 hours to play out only the first wave. This really is a huge scenario! Every time a Zulu unit is reduced to three figures it is removed from play, BUT, all the Zulu units are recycled back onto the table. Only when a certain number of them are eliminated will the "wave" come to an end. But here is another catch, if the Zulus succeed in obtaining any victory points during the course of the "wave," the threshold for wave termination increases. For example, without any victory points, the first wave ends when 8 Zulu units are eliminated, but if they were to capture the hospital during the course of the wave that number would increase to 12 units. Get the idea? In other words, the Zulus keep coming and coming as long as they maintain momentum by obtaining certain goals. Very clever idea! Actually, if you look through the scenario book, you will see many clever ideas.
I'll have some action pictures on this game for you later.
Monday, July 24, 2006
New Zulu War Scenario Book

At long last Bwana is back on-line! It's a great thing when you buy a new computer, it solves so many problems that you used to have!
I'm happy to report that I have also just returned from Historicon in Lancaster, Pennsylvania. As usual it was a lot of fun. We played in some really good games and bought a lot of great stuff. Our best acquisition was the new Zulu War 1879 Scenario Book by Roy Jones and Mark Fastoso. I have been looking forward to this for two years. We even participated in a few playtestings that were held at the conventions over the past two years. If you want a copy there will be several dealers selling it at Fall In in Gettysburg. If you need to get one before then you can order it from Brigade Games. We have a link to that shop down below.
There is a lot of good stuff in this book, a total of 11 scenarios that cover all the well-known engagements of the Zulu War. I'm looking forward to having quite a lot of fun with it.
I'll have more later on the games we got in on at Historicon.

Friday, March 31, 2006
Sihayo's Kraal Concluded
To conlude the description of this game let me just say that it was a good close game. In the end the British side failed to earn the required number of victory points, but not by much. The NNC units were only moderately successful in charging up the hill. Two of them took too much "friendly" fire from the British infantry units behind them and they evaporated. The two Brit infantry units continued on without them but they were not able to capture enough objectives before time ran out. I was able to get the NMP unit to the top and exit it off the table for two whole victory points. I thought I might have the game won at that point but I still fell short.



Monday, March 27, 2006
Sihayo's Kraal Opening Moves
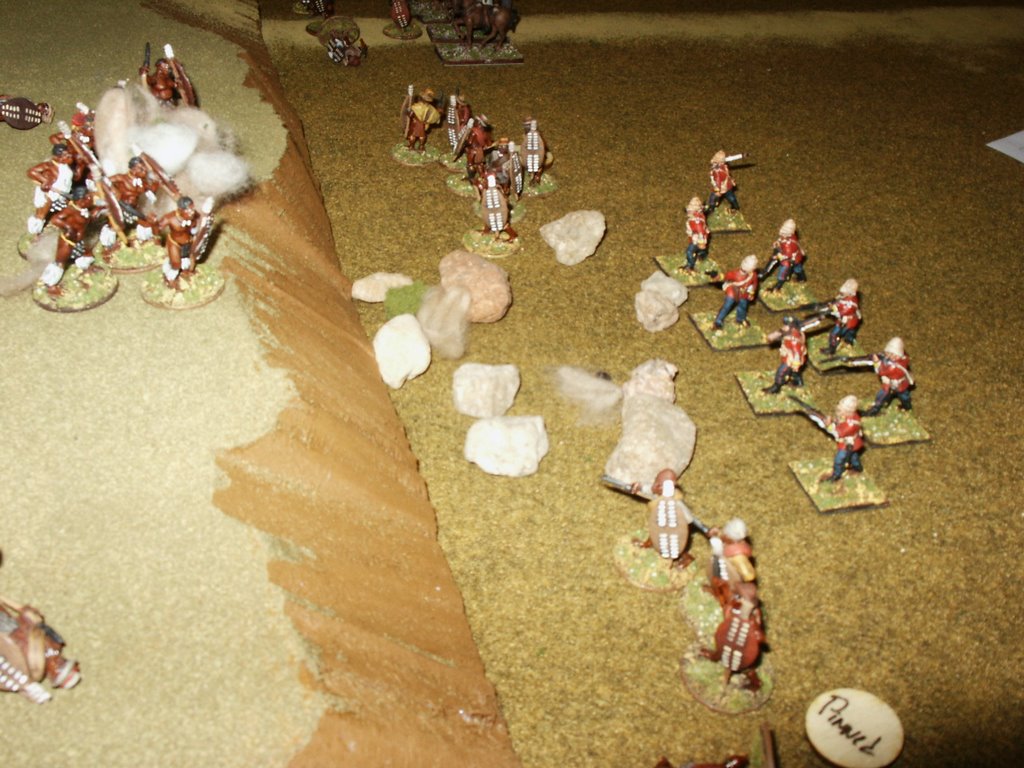
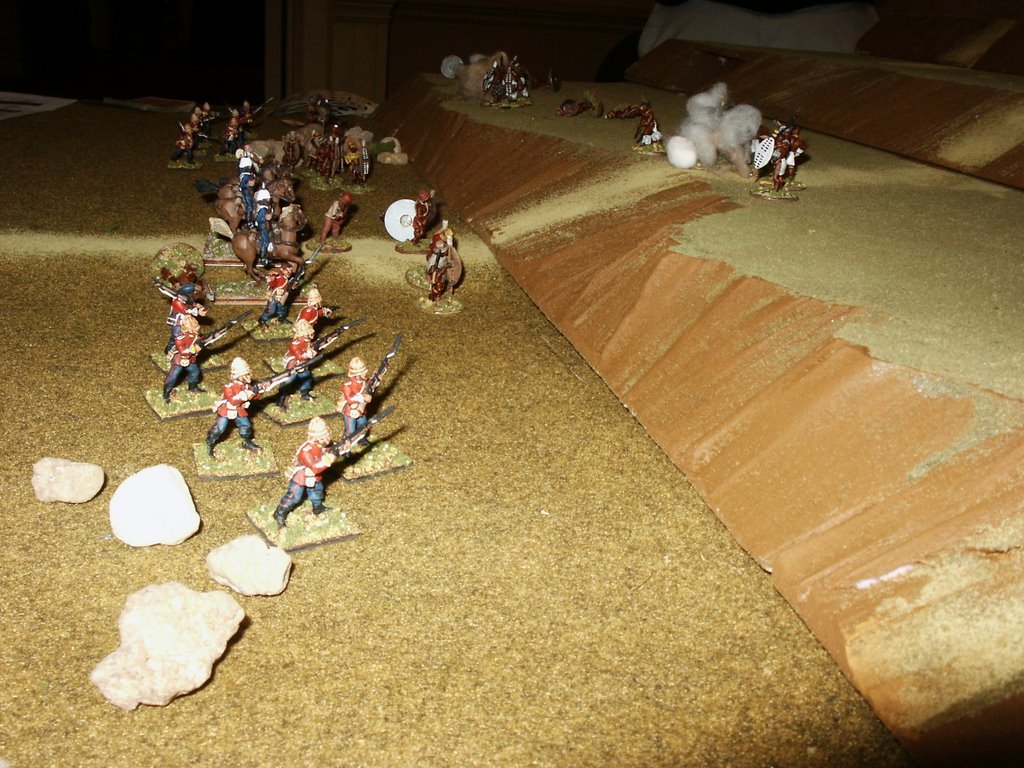
Here you can see the NNC advancing toward the Zulu positions in the rocks and the hill sides. You can't see the British infantry that are right behind them in every picture, but believe me they are there.



Friday, March 24, 2006
Sihayo's Kraal Scenario (continued)


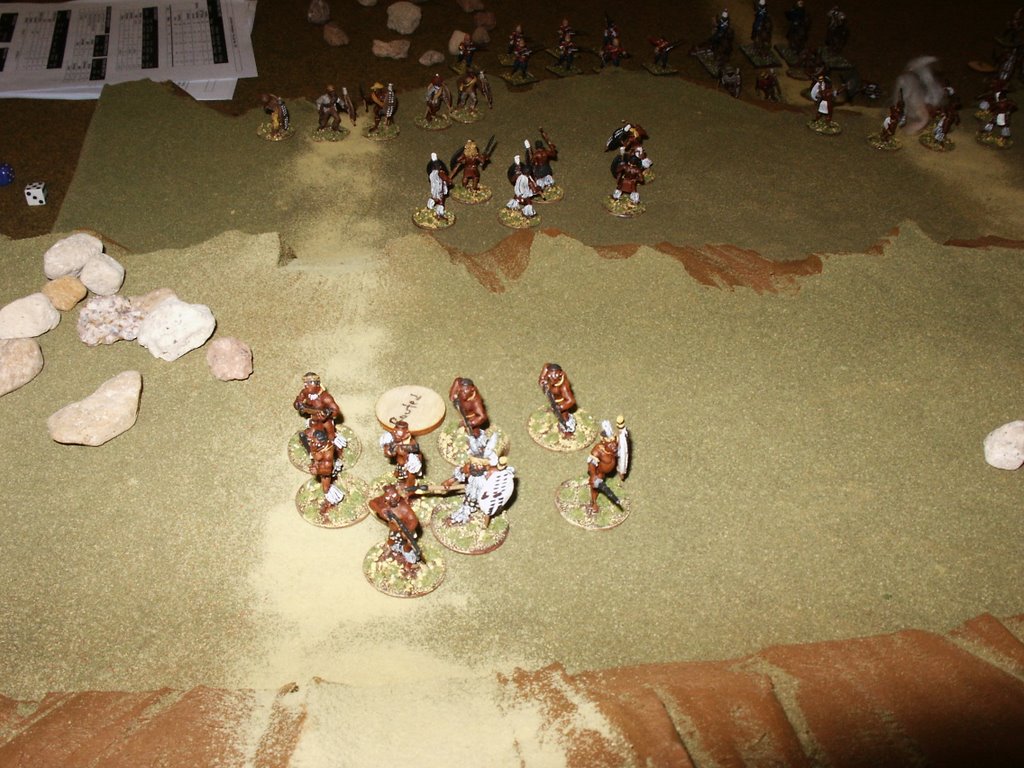
Today we'll get back to the Sihayo's Kraal scenario I brought up earlier. Here you can see my wife Teri, the worlds most recent TSATF convert, and scenario designer Roy Jones plotting the Zulu defensive strategy. In the bottom photo you can see the task facing the British force. They have to scale the plateaus, capture objectives, and exit troops off the table edge at the top. If you look carefully you can see clumps of boulders and caves in the side of the cliff, these are both objectives and places for hidden Zulu units. The path going up the middle is the only way for the British regulars to get up onto the cliffs. Their Natal Native Contingent (NNC) allies are the only one who can scale the cliffs at any point.
Speaking of the NNC, this was the most intriguing aspect of the scenario. There are only four NNC units, two regular Brit infantry, and one cavalry unit of Natal Mounted Police (NMP). The idea is to put the NNC out in front to attack uphill. As long as there is a British unit directly in their rear they get a -2 die roll bonus on all there morale checks, including "closing-to-assualt" and "standing-to-fight." This makes an otherwise totally unreliable force fairly effective. Just imagine the scene! The NNC are advancing toward Zulus who are waiting for them up above (and in this scenario all Zulus have muzzleloaders), they are of course reluctant, but because of the rows of British bayonets right behind them... Well, you get the idea! I thought it was a brilliant idea that really made the scenario something special. It was a blast! (pun intended, sorry) Next time I'll tell what happened!
Wednesday, December 21, 2005
ZULU WAR: The Battle of Gingindlovo
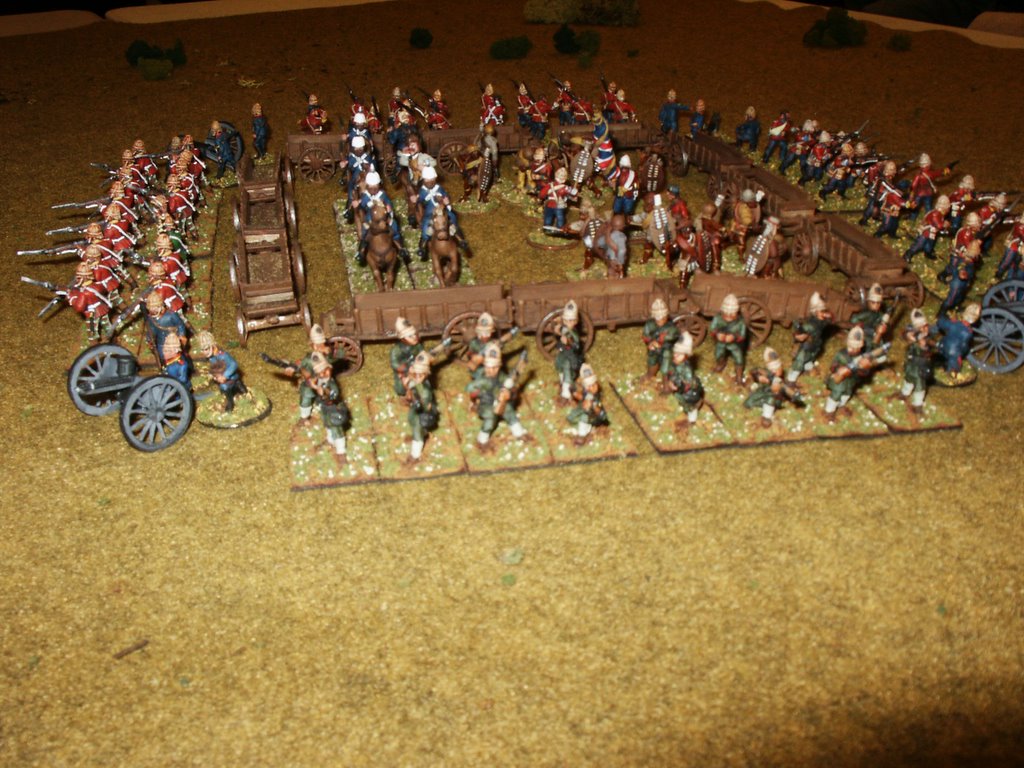
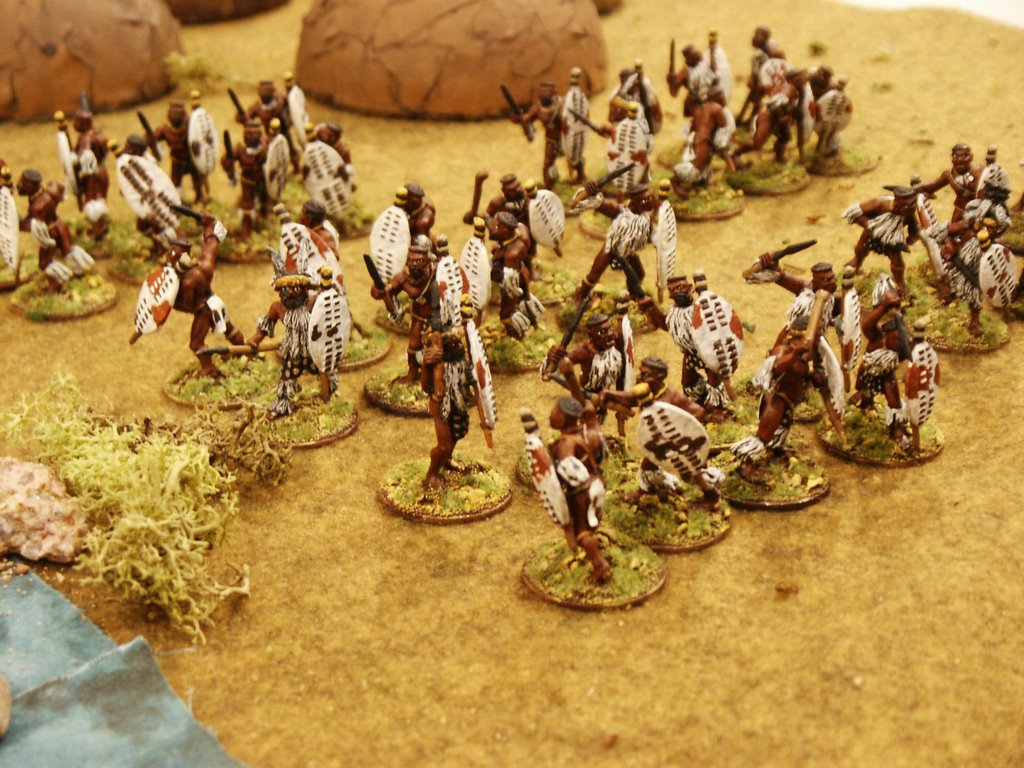
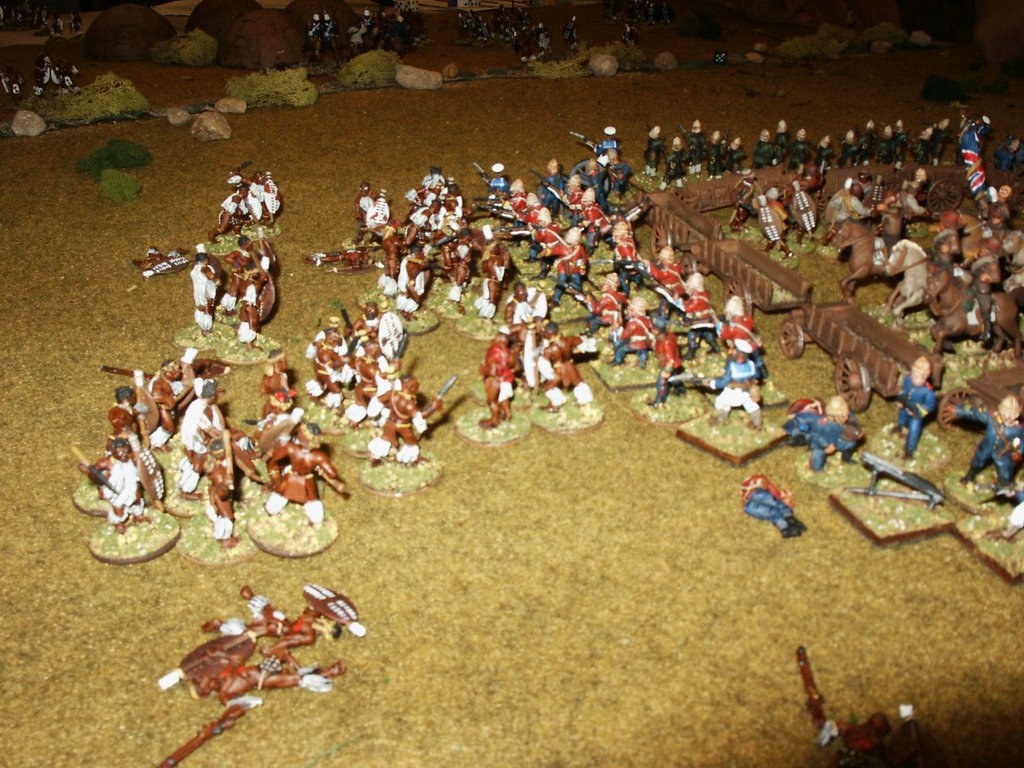
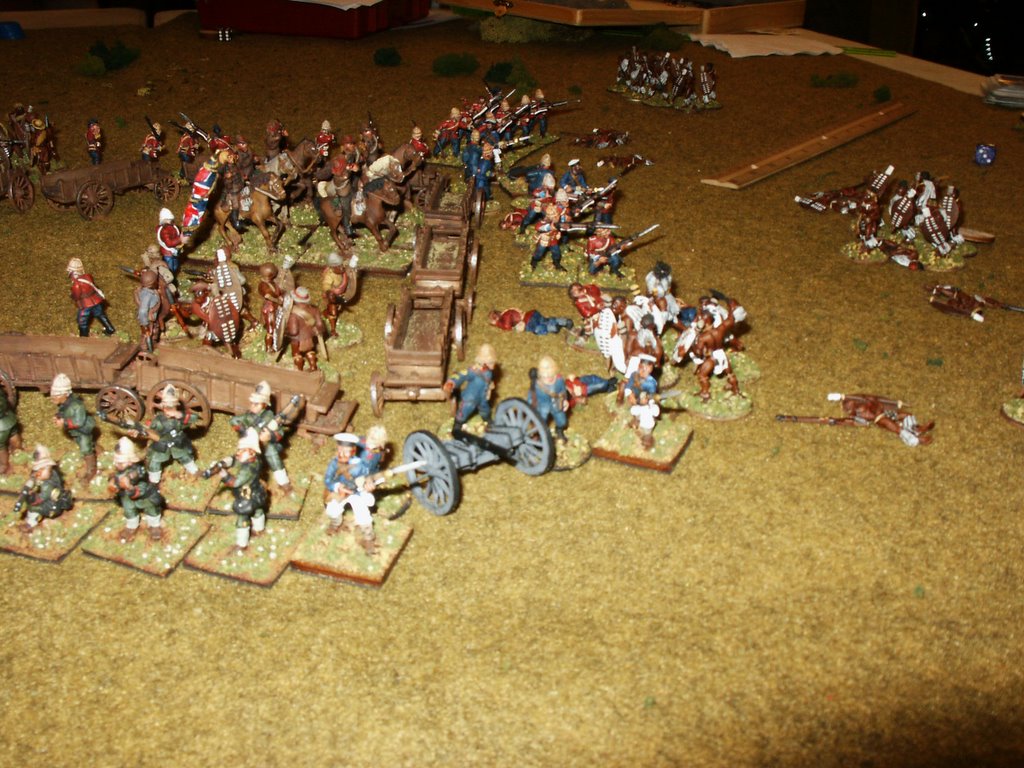
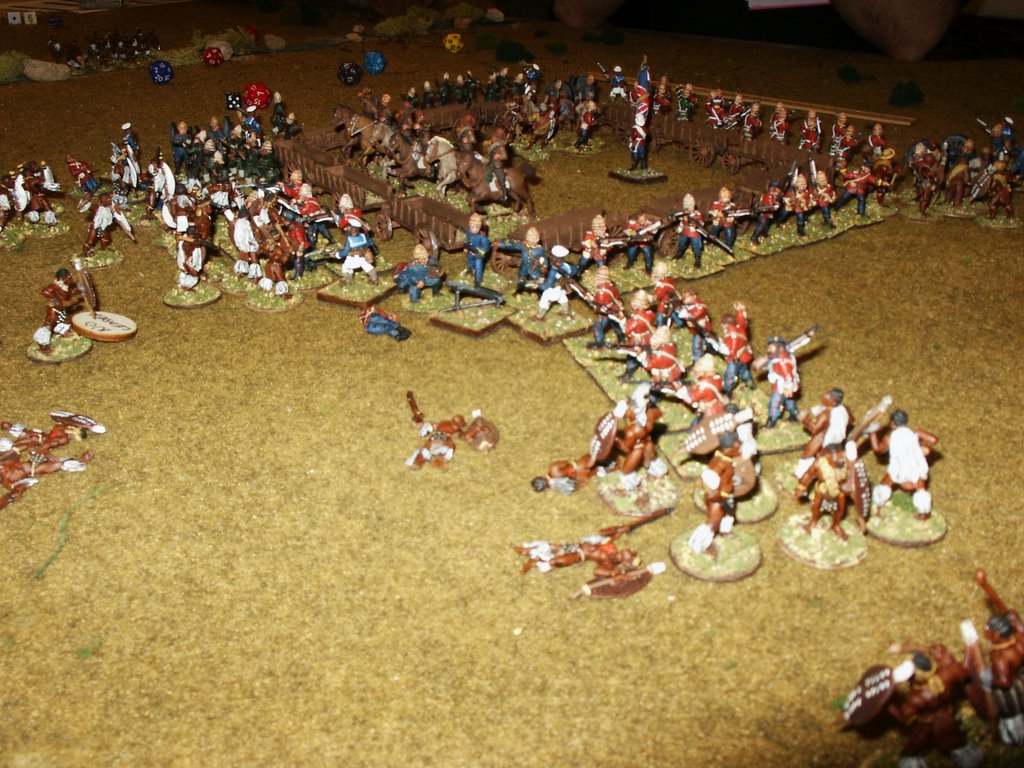
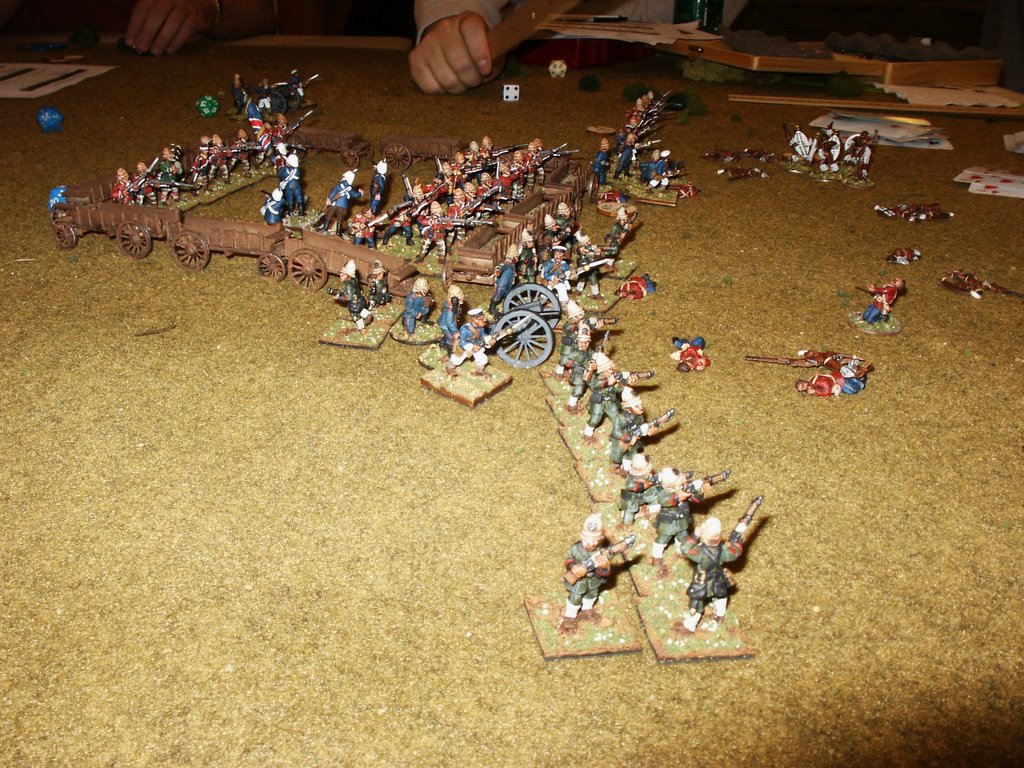
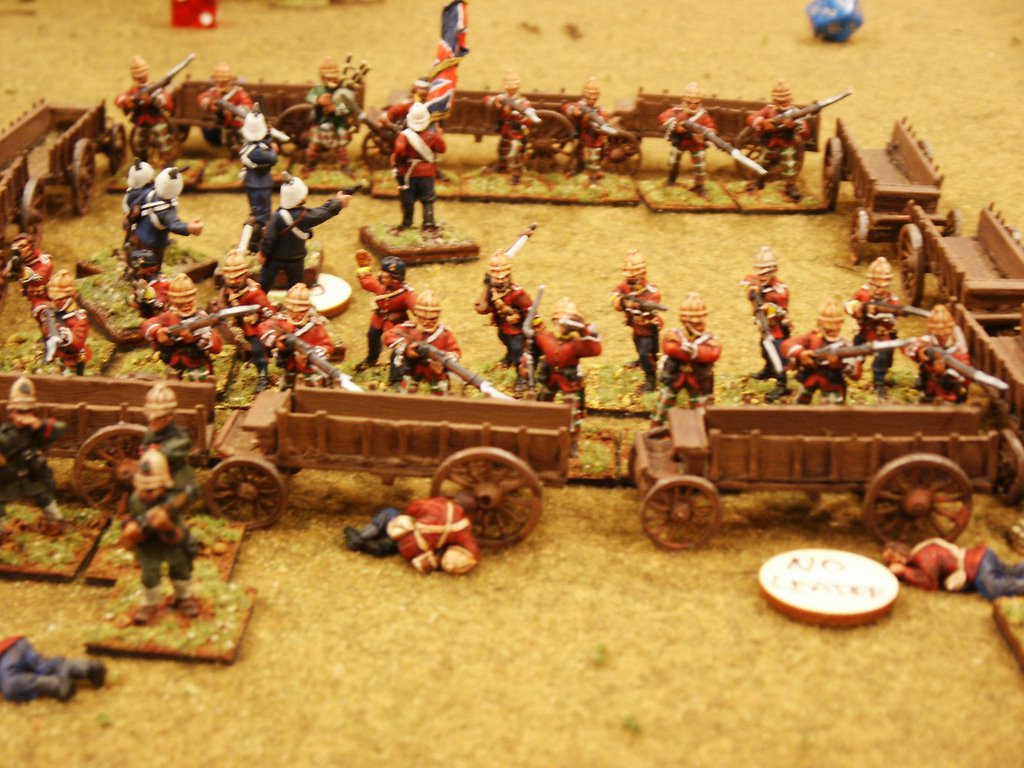
I recently had the opportunity to participate in another playtesting of Mark Fastoso's collection of Zulu War scenarios. Mark is a talented scenario designer who will be publishing these scenarios in book format. He told me they will be available for purchase at the next Cold Wars convention in March 2006. This latest scenario represents the Battle of Gingindlovo. This was shortly after the disaster at Isandlwhana and British commanders were now in the habit of forming wagon lagers after every day of marching, and only fighting the Zulus from within prepared positions or by forming squares if they were out in the open. In this particluar scenario the British start out already formed into a square. They also have the benefit of a wagon lager and a trench! Needless to say, this is a very challenging scenario for the Zulu side. Although a Zulu victory seems pretty hopeless, Mark said that it can, and has, been done. It is the recycling of spent units that gives the Zulus a chance. Mark came up with an interesting concept here. (Mark has a lot of interesting concepts along with a system for using 8 figure units instead of 20.) He allows every Zulu unit that has been reduced down to 3 figures to be recycled as long as the unit was reduced in close combat with the enemy and not merely by rifle or artillery fire. This allows the Zulu side to keep coming and coming, and it also forces them to do what Zulus do best; charge and fight hand-to-hand! However, I am sorry to report that when two other gamers and I played the Zulu side we failed miserably! We were snookered in the very beginning by a clever and gutsy move by the British commander. I'm not going to tell you what he did because I don't want to ruin the scenario before Mark's book is published. For now I will just share some photos of the action.
Good Hunting!
Bwana Bill

Good Hunting!
Bwana Bill

Gingindlovo: More Zulu Trivia from Bwana Bill
As you may know, there was a great class division between British officers and their soldiers that manifested itself in many ways. It has been said that this extended to the consumption of alcoholic beverages. British soldiers were fond of beer and gin (usually too fond!) and a proper officer would not been seen touching either one. Wine and brandy were their acceptable alternatives. As you may have noticed, many words in the Zulu language are hard for the English speaking tongue to pronounce. During the 1879 Zulu War the British troops could not help but notice the word "gin" in the name Gingindlovo. (It means "the place of the elephants.") They therefore jokingly referred to the place as "Gin, gin, I love you." Having read about this prior to my trip to South Africa I had assumed that Gingindlovo was pronounced with soft g's. During the trip, my guide and I drove past Gingindlovo and I told him the "Gin, gin, I love you" story which he thought was very amusing. I then asked him if it was pronounced with soft g's or hard g's he assured me that it was hard g's. Good to know, right?
Subscribe to:
Posts (Atom)
