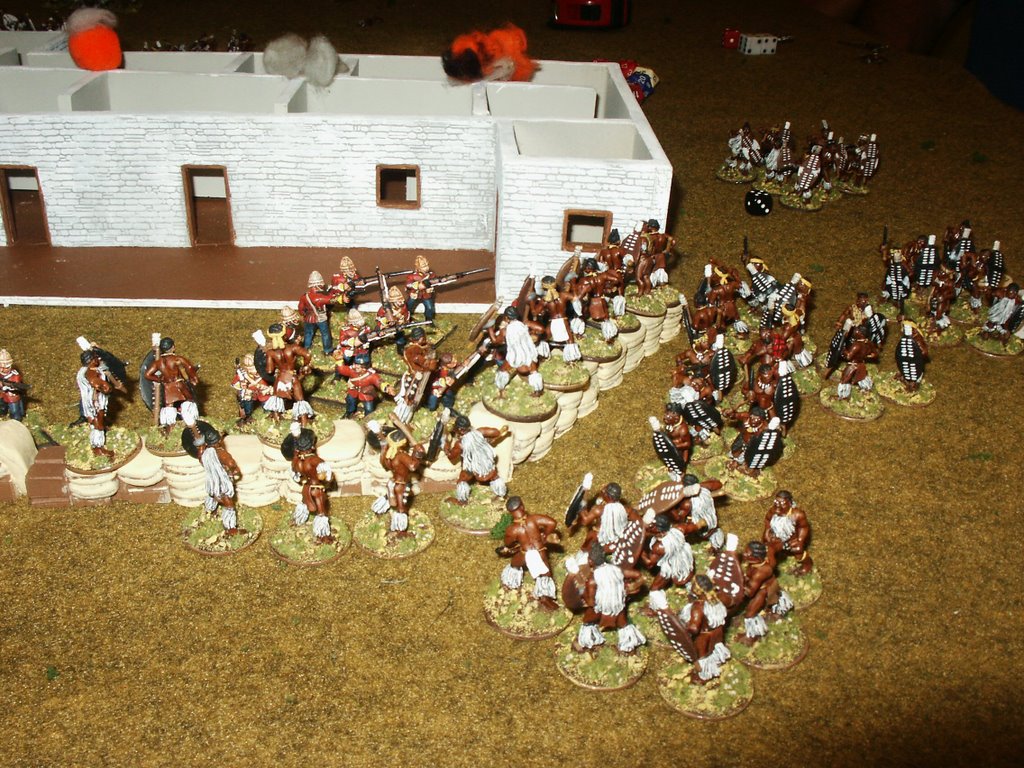

After a while, (quite a while actually, about 3 hours into the game,) the Zulus succeeded in setting the hospital on fire. They had set this as their highest priority over capturing the hopsital, or focusing on getting across the mealie bag wall. Well, they succeeded and all the Brits except two were able to get out before the roof collapsed. Now that the hospital was burning the Zulu side had to start focusing on getting across the mealie bags. In the lower photo above you can see that they focused about half their attackers on the line of bags connecting the hospital with the storehouse. This met with no success at all. It was especially difficult because I had stationed LT Chard at this spot. His presence improved British shooting to a significant degree.
In the top photograph you can see the other half of the Zulu attackers trying to swarm over the wall after flowing around to the other side of the hospital. For the very last turn of the game, the Zulus had managed to charge three units against only one British unit that was manning that corner. One after one we resolved the combats. The first two Zulu units were defeated but the defending Brit unit had been whittled down to only 3 figures. Then the third Zulu unit came on in. Zulu after Zulu fell while trying to get across the wall, but two more Brits went down as well. Finally, that was only one Brit and one Zulu left. This was very tense, because game master Roy Jones had said that since there was no time to play out all three Zulu "waves," it would be a Zulu "moral victory" if they managed to get anything across the wall. So it had come down to only one Brit left to "save the day." Well all I can say is that the dice rolling gods were with me because the last Zulu went down right on top of the mealie bag wall. That surviving trooper definately met the TSATF Victoria Cross criteria in my book! Nevertheless, if you look carefully in the top photo you will see that I had a Brit unit right behind the unit defending the wall. If the Zulus had managed to get across, they would have been fired on and charged by a fresh set of defenders; if there had been another turn.
At this point we had to call it "quits," not only had we run out of time, but we were all feeling a bit exhausted with the work, tension, and concentration of the stuggle. Maybe someday I'll try running the entire scenario. It won't be easy though, to begin with I have absolutely no scenery for this scenario and the way it is desiged you almost have to turn it into a campaign series to play out the entire thing. But, all that aside, we did have good time playing out the first "wave."
No comments:
Post a Comment